
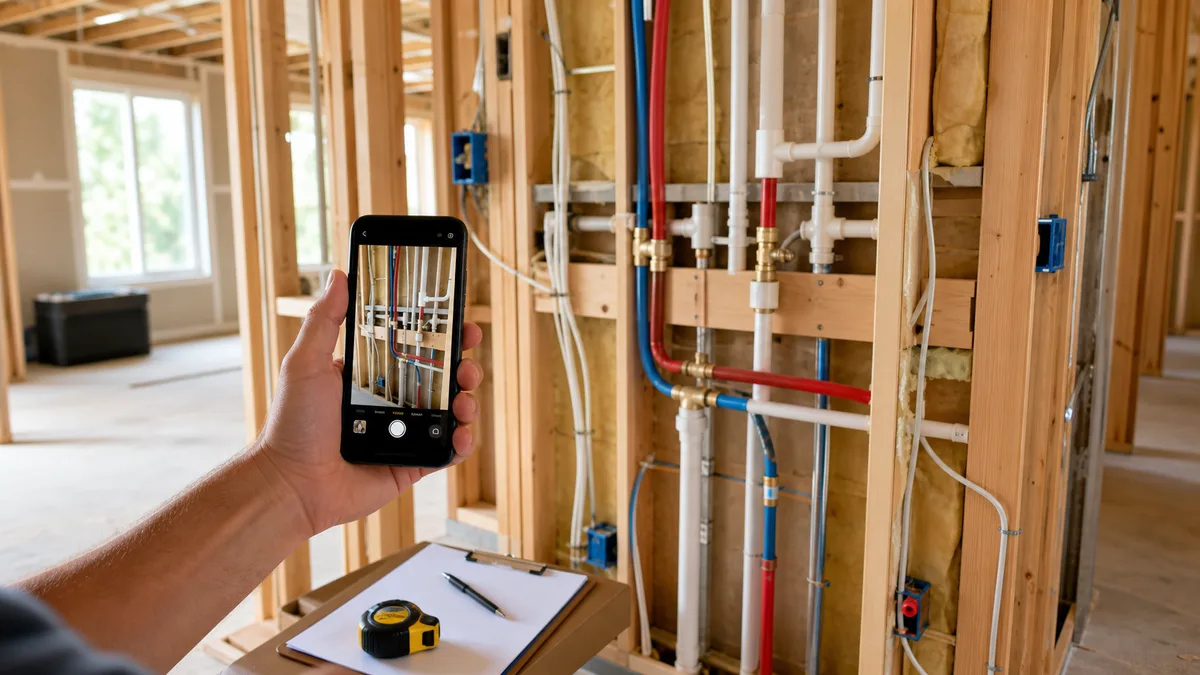
Photo documentation of covered work
The most important photos are of covered work: foundations before backfilling, waterproofing, reinforcement, service penetrations, cables, pipes, underfloor heating, ventilation, roof layers, flashings and reinforcement points. Once walls are closed or floors are poured, it is hard to verify exactly where an installation runs.
Take photos before the next trade covers the previous stage. A photo after plastering shows a clean wall, but it no longer shows cables, pipes, fixings or mistakes that may matter when drilling, installing furniture, making a warranty claim or repairing a leak.
How to photograph construction stages
A useful construction photo needs context. First photograph the whole wall, ceiling, floor or room, then capture details near the distribution board, boxes, valves, crossings, corners and sensitive connections. Close-ups alone often become useless after a few months because nobody remembers where they were taken.
For services, use a tape measure, level or a clear reference point such as a window, door, corner, chimney or manifold. If a photo is supposed to help next year, it must show both the item and its position.
Construction photos for sign-offs and cost control
Photo documentation is useful not only during defects. It helps you sign off a stage, confirm the scope of work, return to contractor agreements and compare an invoice with what was actually done. For extra work, photos make it easier to understand where the additional cost came from.
The biggest mistake is leaving everything loose in the phone gallery. After a few months of construction there are too many images, and finding one wall, pipe or insulation layer takes too long. Photos should be attached to a stage, date, room and contractor.
Keep a photo diary of the build
The simple rule is this: every site visit should end with several progress photos, and every covered stage should have its own photo set before it is closed. The goal is not to take hundreds of random images, but to keep a repeatable record of what will later be invisible.
In BuildIQ, photos can sit inside the same stage as costs, invoices, contractor details, deadlines and sign-offs. That makes photo documentation part of project control instead of a separate archive.
what to photograph on site
- foundations, insulation and reinforcement before backfilling or pouring
- cable, pipe, ventilation and heating routes before plaster, screed or drywall
- distribution boards, valves, access points, boxes, penetrations and sensitive connections
- roof layers, flashings, membranes, gutters and possible leak points
- reinforcements for furniture, drywall, frames and heavy elements
- wide room photos plus details with a clear reference point
- sign-offs, corrections, damage, material deliveries and extra work