Checklist before plaster and screed: what to check after installations
After home installations are roughed in, the building can look unfinished and chaotic, but this is one of the last moments when the owner can still see cables, pipes, manifolds, water points and underfloor heating loops. Once plaster and screeds are done, many mistakes become expensive to diagnose and repair. Treat this phase as a separate pre-cover inspection, not as a quick gap between trades.
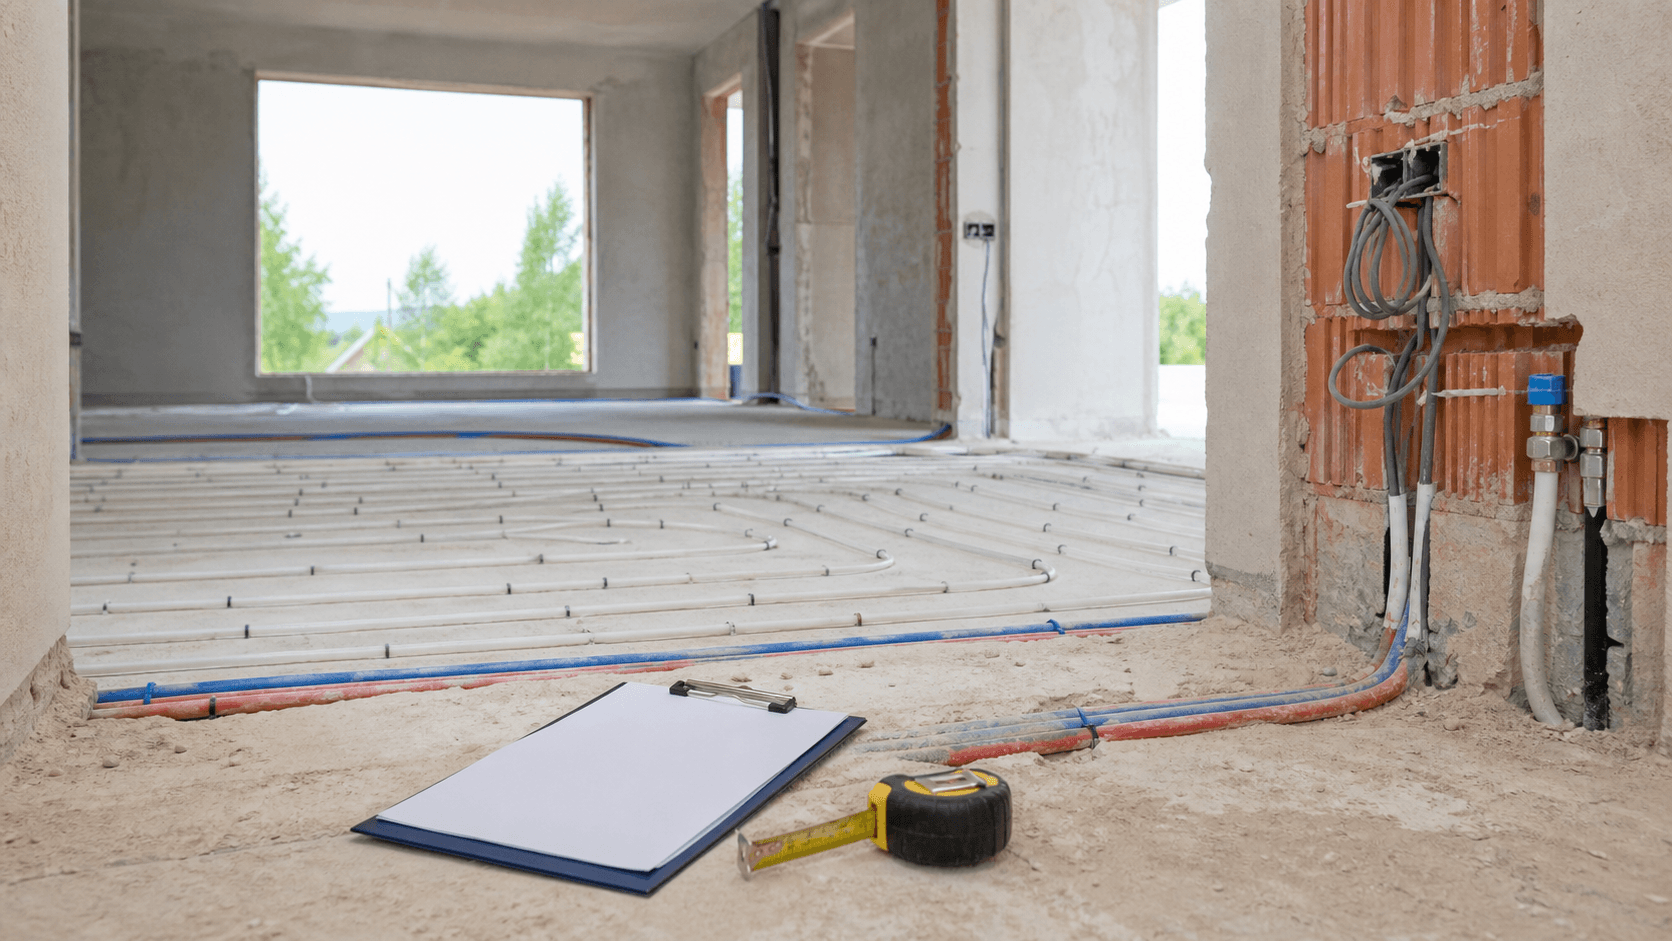
Why the pre-plaster and pre-screed stage matters
Plaster hides chases, cables, boxes, conduits, penetrations and many details that are difficult to verify later. Screed hides insulation, edge strips, floor pipes, drainage routes and underfloor heating. If something is misplaced, damaged or undocumented, the issue often appears only during fixture installation, drilling, a leak or a later failure.
Before plasterers and screed teams start, pause the schedule for a technical acceptance check. It does not have to be complicated, but it should leave a clear record: photos, open defects, test results and a decision that the work is ready to be covered.
Electrical work before plastering
Before plastering, check socket locations, switches, light points, boxes, consumer unit, dedicated circuits, internet, alarm, cameras, intercom, gate control, solar preparation and EV charger provision. Compare the real site with the latest room layouts, not only with the original drawings.
Heights, distances from corners, circuit descriptions and cable routes matter. Photograph every wall before plastering, ideally with a tape measure or another reference point. These photos are useful later when drilling, fixing furniture or tracing a fault.
Plumbing, drainage and heating before screed
Before screed, check water points, drainage runs, pipe falls, pipe fixing, insulation, wall and floor penetrations, valves, access points, manifolds and linear drains. Bathrooms, kitchen, laundry, plant room, garage and outside taps deserve extra attention.
Underfloor heating should be checked for loop spacing, zones, expansion joints, edge insulation, pipe fixing and manifold descriptions. A pressure test should be completed and recorded before the floor is poured. Room-by-room photos of loops are very valuable because their layout disappears permanently under the screed.
Ventilation, heat recovery and service penetrations
Ventilation and heat recovery often collide with suspended ceilings, lighting, built-in furniture, chimneys, electrical routes and plumbing. Before plastering, check ducts, terminals, intake, exhaust, unit location, silencers and wall or ceiling penetrations against the design and planned finishes.
Also confirm who is responsible for sealing penetrations, repairing chases, protecting pipes and preparing surfaces for plaster. Unclear boundaries between trades often lead to extra charges or disputes about responsibility.
Photos of covered work and acceptance documents
Good pre-cover documentation is not a random phone gallery. It is an organized record by room and installation type. Photograph full walls, close-ups of critical points, manifolds, floor penetrations, vertical risers, connections, valves, access points and pressure test evidence.
Add acceptance notes, a defect list, test dates, contractor name and confirmation that corrections were completed. In BuildIQ, this can be managed as a separate checklist by room, with photos, invoices and acceptance status attached to the same stage.
Common mistakes before plaster and screed
The most common mistake is allowing the next trade to start before the previous scope is accepted. Plasterers arrive even though cable photos are missing, the plumber has not completed pressure tests, electrical circuits are not described and the owner is still changing the kitchen or bathroom layout.
Another common issue is leaving finishing decisions too late. Tap heights, drain type, mirror position, drywall boxing, suspended ceilings, heating thermostats and technical lighting should be clear before services are covered. Later changes usually mean chasing into finished work.
before plaster and screed
- compare actual electrical, plumbing, drainage, heating and ventilation points with the latest drawings
- check heights for sockets, switches, water points, drains, thermostats and manifolds
- confirm circuit descriptions, consumer unit labels, valves, access points and heating zones
- complete and record pressure tests for plumbing and underfloor heating
- photograph cables, pipes, heating loops, manifolds, risers and service penetrations
- check expansion joints, edge insulation, pipe fixing and screed preparation
- confirm ventilation routes, heat recovery ducts, terminals, intake, exhaust and ceiling clashes
- write down defects, corrections, responsible contractor and due date
- do not allow plasterers or screed teams to start until the installations are accepted
- keep photos, protocols, invoices and decisions in one place, ideally organized by room