
1. Starting finishes before the substrate is ready
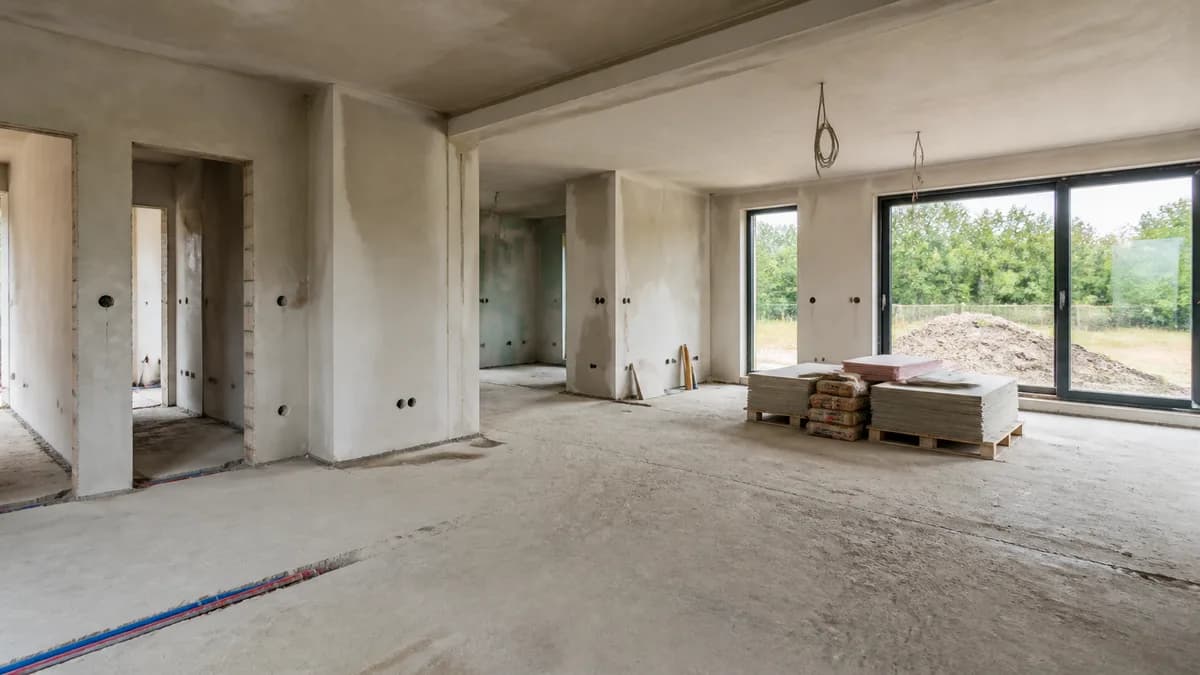
Paint, flooring, tile and cabinets depend on dry, stable and reasonably flat surfaces. Covering a damp slab or uncured compound can trap moisture and cause failure later. Confirm the responsible trade’s readiness criteria and record any moisture or surface checks before ordering installation.
2. Choosing a sequence by convenience
Installing flooring before dusty work is finished, or painting before late repairs, creates damage and repeat visits. Build a room-by-room sequence that accounts for drywall or plaster, sanding, primer, tile, cabinets, flooring, trim and final paint. Leave protected access routes for the trades that follow.
3. Changing materials without checking compatibility
A different tile thickness, adhesive, flooring system or cabinet dimension can affect transitions, doors and service connections. Do not approve substitutions from a photograph alone. Check dimensions, installation requirements and the impact on adjacent work before accepting a change.
4. Buying everything too early
Materials stored in the wrong conditions can warp, get damaged or become obsolete when the design changes. Long-lead items deserve early planning, but delivery should match secure storage and the installation sequence. Keep a simple purchase and delivery record instead of filling unfinished rooms with unprotected stock.
5. Forgetting allowances for waste and repairs
Tile, flooring, paint and trim rarely need exactly the measured area. Ordering too little can delay a room; ordering too much ties up budget and may leave mismatched batches. Confirm quantities with the installer, document waste assumptions and retain a sensible batch reserve where the product requires it.
6. Letting one trade hide another trade’s defect
Cabinets can cover an uneven wall, flooring can conceal a bad transition, and paint can hide a patch that will fail later. Use stage inspections and punch lists before the next layer makes access difficult. Photograph unresolved defects and assign an owner and due date.
7. Paying ahead of an incomplete handoff
Progress payments should reflect agreed work, not simply the presence of materials on site. Before approving a payment, check the scope, outstanding defects, protection of completed work and the next milestone. Keep written acceptance notes and avoid relying on a verbal promise to return.
8. Ignoring moisture and protection
New finishes are vulnerable to wet trades, temperature swings, dust and traffic. Protect floors, ventilate appropriately and do not close a room before the products have reached the conditions specified by the installer. If a surface looks or smells wrong, pause and investigate rather than covering it.
9. Treating the punch list as a cosmetic exercise
A punch list should include function, alignment, damage, sealants, doors, equipment access and incomplete documentation—not only paint marks. Walk the house in daylight, group issues by trade and agree how completion will be verified.
before moving through finishing
- Substrates are dry, stable and ready for the planned finish.
- The room sequence protects completed work and access routes.
- Samples, dimensions and substitutions are approved in writing.
- Quantities, waste and delivery conditions are recorded.
- Defects are assigned before the next layer hides them.
- Payments match verified milestones and accepted work.
- A functional punch list and closeout record are complete.
Use the checklist before technical finishing and the checklist before plaster and screed for stage-specific preparation. BuildIQ helps connect budgets, purchases, photos, notes and acceptance records so a finishing decision remains traceable after the trade has left.
Keep the last weeks manageable
Set a weekly decision deadline, keep a short list of rooms that are actually ready, and do not move a trade into a room with unresolved moisture or substrate issues. When a defect is found, separate urgent protection from final cosmetic correction and record who will verify the repair. At closeout, collect care instructions, product references, spare materials and final photos.
A room-by-room closeout method
At each handoff, separate readiness from appearance. First check moisture, substrate preparation and the function of doors, outlets, fixtures and equipment. Then review alignment, colour, joints, sealants and visible damage. Group the punch list by trade, add a photo and a due date, and recheck the item before releasing the next payment.
Drywall, plaster and paint deserve the same discipline as flooring and tile. Repairs should be complete and dust removed before a final coat or a finished floor is accepted. Protect completed rooms with a clear access route and agree who replaces protection if another trade needs to return. Keep product names, batch details and care instructions with the closeout record so later repairs do not depend on memory.
Final payment should follow staged acceptance
Use staged acceptance for wet works, drywall, flooring, cabinetry and the final punch list. A payment milestone should identify what was inspected, what remains open and how completion will be verified. Protecting completed work and keeping a photo record makes it easier to distinguish a new defect from damage caused by a later trade.
FAQ
When should flooring be installed?
After wet and dusty work is complete, the substrate is ready, and the remaining trades can protect the surface. The exact order depends on the materials and design.
How should I handle finishing defects?
Record the location, description, photo, responsible trade and agreed completion date. Recheck the item before accepting the next milestone.
Is it worth keeping spare materials?
For products that may be difficult to match later, a documented reserve can be sensible. Store it correctly and record the batch or product details.
What should the final walkthrough include?
Check operation as well as appearance: doors, windows, fixtures, outlets, drainage, sealants, surfaces, access panels and the agreed closeout documents.